Give Your Space a Makeover with an Easy DIY Accent Wall
A little change can go a long way—especially when it comes to home décor. Adding just one eye-catching feature can redefine a room, giving it depth, texture, and style without the hassle of a full renovation. That’s where an accent wall comes in. Whether you opt for wood paneling, decorative molding, or a bold paint color, this simple upgrade can make your space look more refined and thoughtfully designed.
Research suggests that a well-designed room can influence both mood and productivity, making accent walls more than just a visual statement—they’re a practical design choice too. By creating a focal point, they add personality and structure to any space. The best part? You don’t need a professional to get the job done. With a few tools, the right materials, and a little patience, you can achieve a designer-worthy look on a DIY budget.
In this guide, I’ll show you how I turned a blank wall into a stylish centerpiece using wood trim board planning. Let’s get started!


Step 1: Buying Equipment and Materials
The key to a hassle-free DIY project is having everything you need before you begin. To avoid unnecessary trips to the store, I took the time to plan ahead and gather all the essential tools and materials. Whether you're using wood panels, MDF, or decorative molding, having the right supplies on hand makes the installation process more efficient and helps achieve a polished, professional result.
With my checklist in hand, I headed to the hardware store, ready to turn my vision into reality. Depending on the type of accent wall, you may need the following:
1.1 Tools Needed
Before getting started, I made a list of essential tools to ensure a seamless installation. Here’s what I gathered:
Measuring tape – To ensure accurate measurements for paneling and molding.
Level – A must-have for keeping everything straight and aligned.
Trim puller – Useful for safely removing old molding.
Pencil and notepad – For marking cut lines and jotting down measurements.
Miter saw, circular saw, or manual miter saw – Depending on the complexity of the cuts needed.
Sandpaper or sanding block – To smooth rough edges and prep surfaces.
Caulking gun – For sealing gaps and achieving a polished look.
Paintbrushes and rollers – Essential for painting and finishing touches.
Nail gun or hammer and finishing nails – To secure panels and trim effectively.
Putty knife – For applying spackle or wood filler.
1.2 Materials to Buy
Once I had my tools ready, it was time to purchase the materials. Here’s what I needed:
Wood panels or MDF – The primary material for the accent wall.
Construction adhesive – For extra hold, especially when installing heavier materials.
Caulk (paintable) – To seal edges and create a seamless finish.
Nails (finishing nails or brad nails) – To secure trim and panels.
Spackle - For filling in small gaps and imperfections.
Wood filler - To cover nail holes and blend everything smoothly.
Paint and primer – To bring the wall to life and ensure a professional finish.
Water Based Wall Texture - To repair wall texture damages from the previous wall trim.
Step 2: Prepping Your Wall for a Flawless Finish
Before diving into your accent wall project, taking the time to properly prep your surface is key to achieving a polished, professional look. Here’s how to get started:
2.1 Removing Molding and Baseboards (If Necessary)
If your wall has existing molding or baseboards that might get in the way, you’ll want to remove them first. I started by carefully scoring the caulk line where the molding met the wall using a utility knife—this helps prevent unnecessary paint or drywall damage. Once the caulk was loosened, I used a trim puller to gently detach the molding, working my way across the wall to keep everything intact.
2.2 Repairing Imperfections for a Smooth Surface
Once the wall was clear, I noticed a few nail holes, minor dents, wall texture damages and cracks that needed attention. To ensure a smooth finish, I filled in these blemishes with spackle, pressing it in with a putty knife for an even application. A quick wipe-down with a damp cloth removed any lingering dust, leaving me with a clean slate for the next step.
After letting it dry, I sanded the area with 120-grit sandpaper to level everything out. Then I used a Water Based Wall Texture spray to fix the wall texture and let it dry.
2.3 Applying a Base Coat of Paint
If you’re planning to install wood panels or trim, painting the wall beforehand can save time and reduce the need for touch-ups later. Since I was giving the whole room a refresh, I decided to paint the wall first for a seamless look.
For this project, I used BEHR PREMIUM PLUS Deep Base Flat Low Odor Interior Paint & Primer, which provided great coverage and a smooth, even finish. Since I was covering a darker shade, I applied two coats, working in sections to ensure consistent strokes. I allowed each layer to dry completely before moving on to the next.
With the prep work done, the real transformation was about to begin—it was time to bring my accent wall idea to life!
Step 3: Measuring the Wall and Planning the Design
Proper planning ensures you don’t waste materials or make costly mistakes. Before cutting a single board, I took the time to measure my space, sketch out my design, and calculate the exact materials I needed. This step was crucial to avoid unnecessary trips to the hardware store and ensure a polished final look.
3.1 Measure the Wall Dimensions
The first step was to get accurate measurements of my wall. Using a measuring tape, I recorded the height and width, noting any obstacles like outlets or vents that could affect the design. Precision was key—getting the numbers right at this stage would prevent headaches later when cutting and installing the boards.
3.2 Plan the Design
With my measurements in hand, I started sketching out the design. I wanted a clean and modern pattern, so I played around with different layouts on paper before settling on the final look. Taking the time to visualize the design beforehand helped me determine how many boards I needed and how they should be spaced.
3.3 Calculate the Amount of Wood Needed
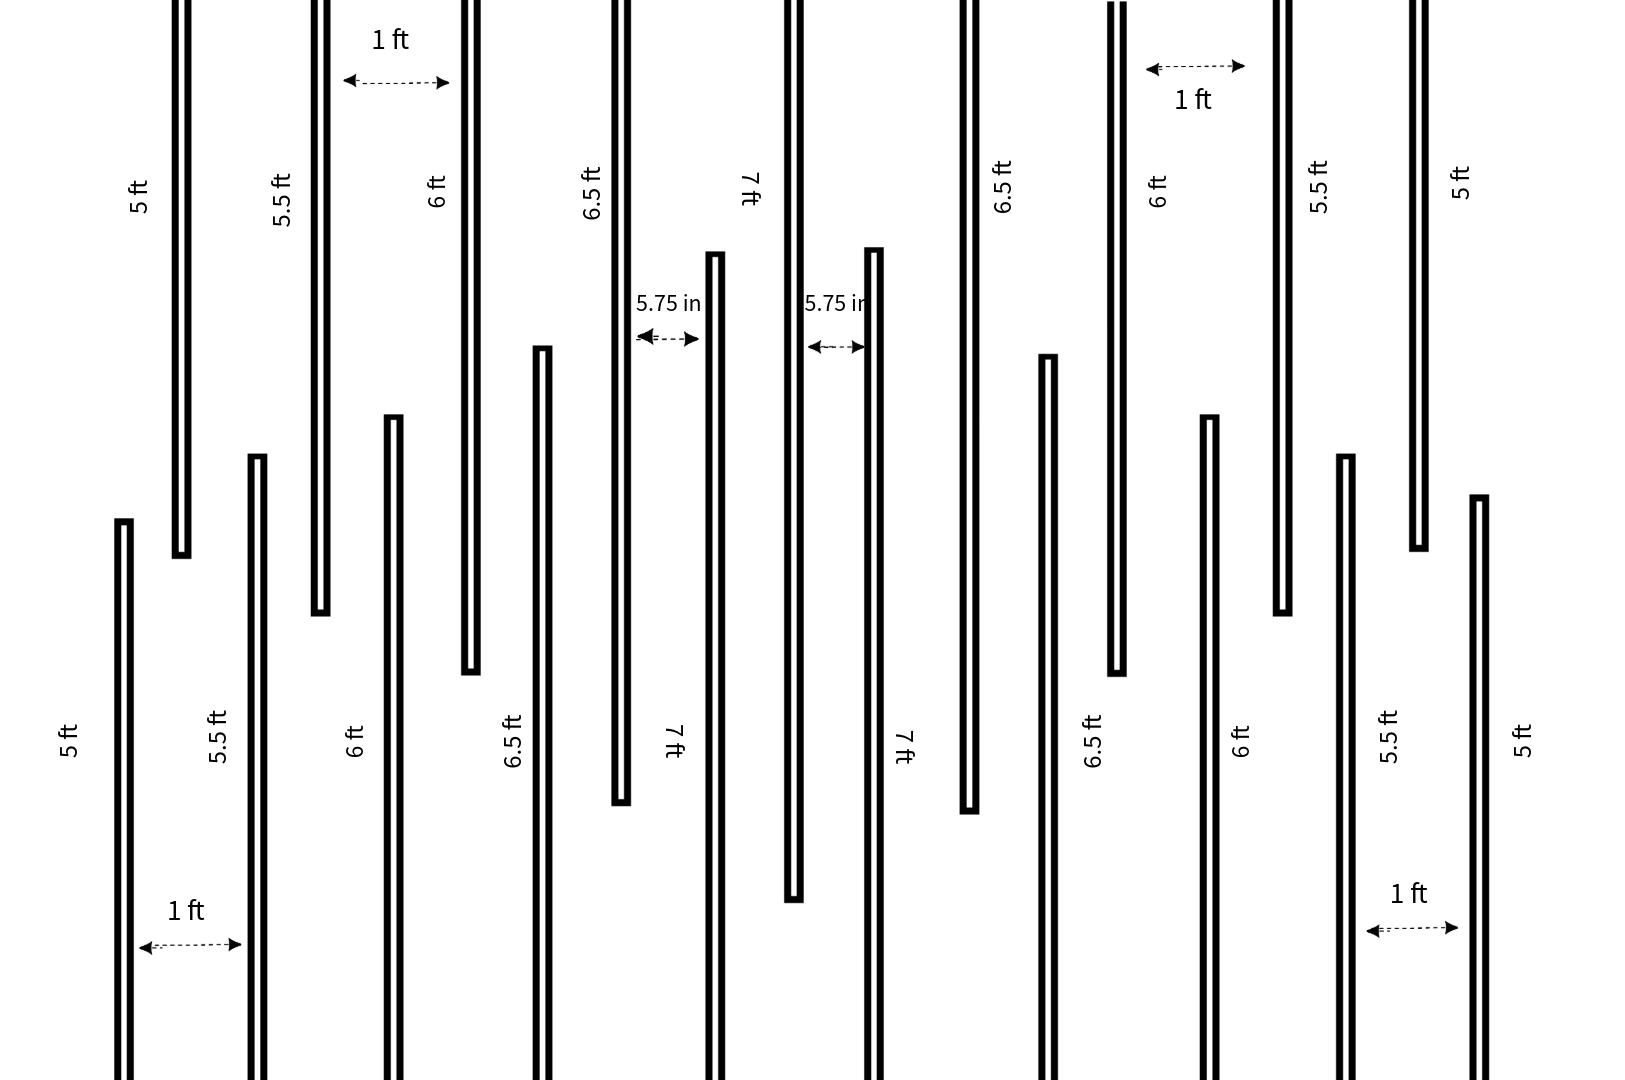
After finalizing the design, it was time to determine how much material I would need. I chose Trim Board Primed Finger-Joint (Common: 1 in. x 2 in. x 8 ft.; Actual: .719 in. x 1.5 in. x 96 in.), which cost $5.24 per board from Home Depot. Based on my calculations, I needed 19 boards to complete the project.
To avoid running out of material, I added about 10% extra to account for miscuts or mistakes. This small precaution ensured I wouldn’t have to make last-minute trips to the store mid-project. With the measurements taken and materials calculated, I was ready to start cutting and installing the boards. The next step—bringing the design to life!
Step 4: Installing the Accent Wall
Now, the fun part—bringing my design to life! After all the planning, measuring, and prepping, it was time to start cutting and attaching the wood. This was the moment where all the effort would finally take shape, turning a plain wall into a stunning focal point.
4.1 Cut the Wood to Size
Before attaching anything to the wall, I needed to cut my Trim Board Primed Finger-Joint to the correct lengths. Using my measurements from the previous step, I carefully marked each cut line with a pencil to ensure precision. I used a circular saw for this project . If you’re working with intricate designs or angles, a miter saw can be a game-changer for making precise cuts. After cutting, I sanded the edges with fine-grit sandpaper to smooth out any roughness and ensure a clean, polished look.
4.2 Attach the Wood to the Wall
With all my pieces cut, it was time to start attaching them to the wall. This step required patience and attention to detail to keep everything straight and aligned. I applied construction adhesive to the back of each board before securing it to the wall. The adhesive helped hold the pieces in place and reduced the need for excessive nailing. To further secure them, I used a hammer with finishing nails (a nail gun and finishing nails work too).
Once all the pieces were attached, I went back to perfect the details:
Filling Nail Holes – I used wood filler to cover all visible nail holes and small gaps between the boards. After it dried, I sanded the filled areas to blend them seamlessly with the wood.
Caulking the Edges – To create a flawless, built-in look, I ran a thin bead of paintable caulk along the edges and corners. Using a damp finger (or a caulking tool), I smoothed out the caulk for a seamless transition between the wood and the wall.
4.3 Paint and Finishing Touches
Since I had already painted the wall beforehand, I only needed to touch up the wood pieces. If you haven’t pre-painted, now is the time! Using a roller for large areas and a brush for edges, I applied two coats of paint for even coverage. Letting each coat dry fully before adding the next ensured a smooth, professional finish. Once the paint was completely dry, I stood back and admired the transformation. My accent wall had gone from a rough sketch to a stunning reality!
Creating an accent wall is a rewarding DIY project that adds instant character to any space. Whether you choose bold paint, wood paneling, or intricate molding, proper planning and preparation make all the difference. Take your time, measure twice, cut once, and enjoy the process.
The best part? Seeing the space come together and knowing that I built it myself. Now, time to step back, move the furniture back in place, and admire the new centerpiece of the room!
